
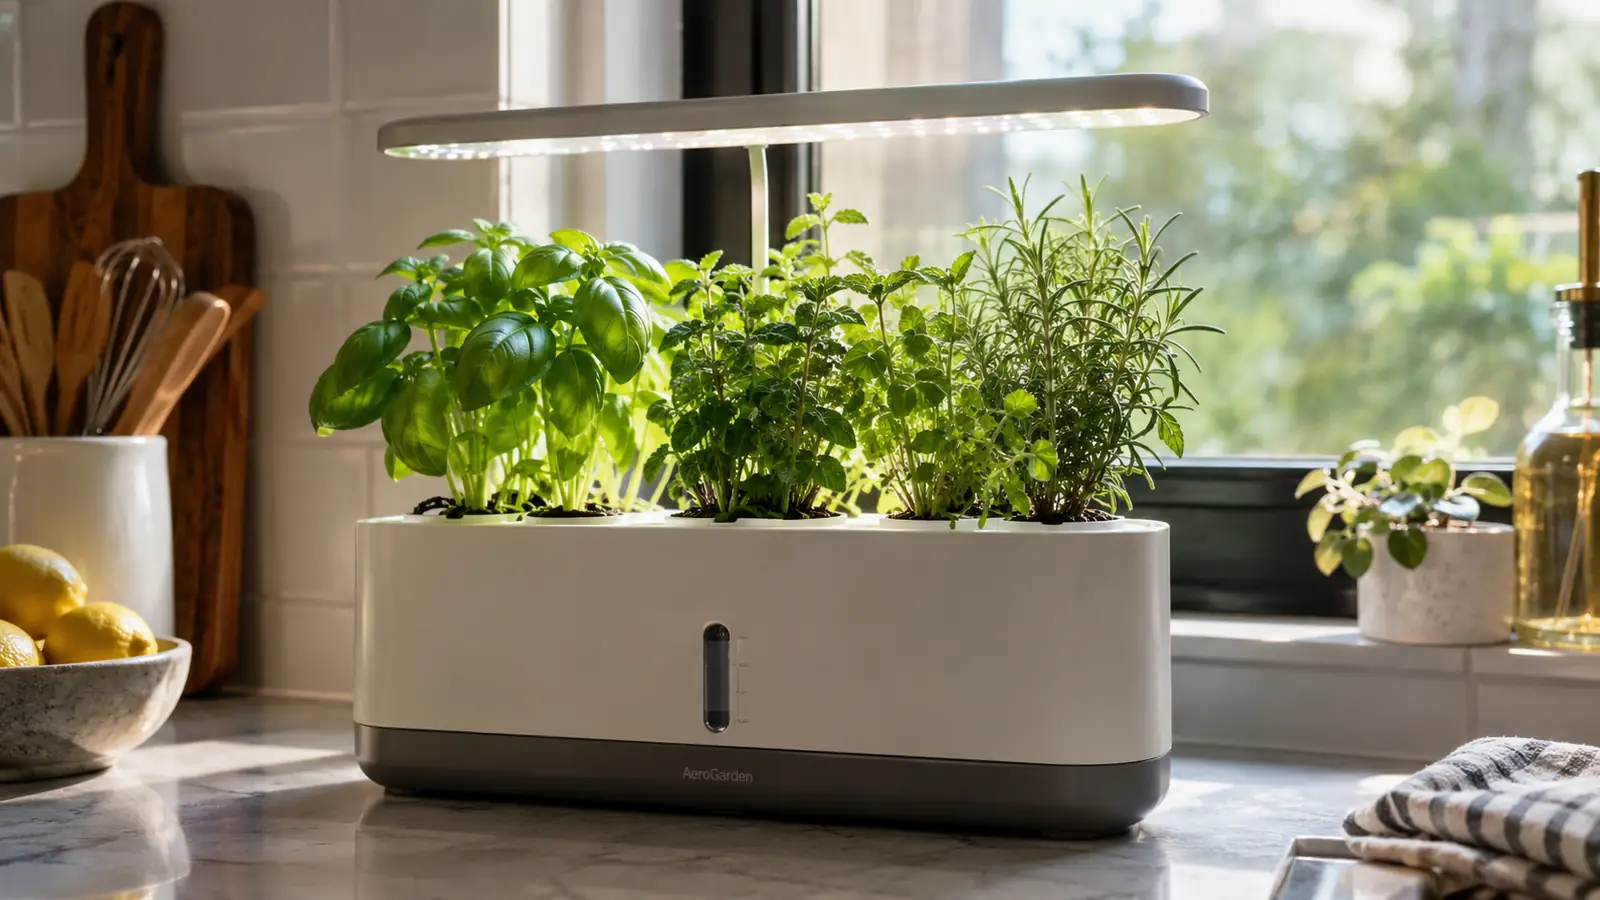
I spent four winters fighting the same losing battle before I bought my first AeroGarden. I would start basil and parsley on the windowsill in September, watch them stretch into pale, spindly versions of themselves by November, and by January I was back to paying four dollars a bunch for grocery store basil that went brown in the fridge. The light in North Carolina just is not enough for herbs on a windowsill once the days get short, and no amount of rotating the pots fixes that.
The AeroGarden Harvest Elite changed the equation for me. Not because it is fancy, and not because it does anything magical. It puts a strong grow light six inches above the plants, keeps the roots in aerated water instead of soil, and feeds them a measured nutrient mix. That is the whole system. But that system is enough to keep basil, dill, parsley, and mint producing through the darkest months, which is more than I can say for anything else I tried. Here is the step-by-step method I have settled on after running the Harvest Elite on my kitchen counter for three winters.
Grow Real Herbs on Your Counter, Even in January
The AeroGarden Harvest Elite is the same countertop unit I have used for three winters of basil and parsley. If you want fresh herbs without the leggy windowsill failures, this is the one I would start with.
Amazon Check Today's Price on Amazon →Step 1: Pick a Spot With a Little Room and a Lot of Light
The AeroGarden does not need a sunny window, which is the whole point. Its LED grow light does the work the sun would normally do, so the unit can live on a kitchen counter, a dining table, or even a shelf in a darker corner. What it does need is two feet of clearance above it for the light mast, a nearby outlet, and a spot you will actually walk past. The herbs grow faster and stay healthier when you check them every couple of days, and out of sight tends to mean out of mind.
I keep my Harvest Elite on the counter between the sink and the stove. That spot gets a little morning sun, which is nice but not essential. The important thing is that I see it a dozen times a day, so topping off water and trimming leaves never feels like a chore. Linda does the dishes and keeps an eye on the basil. If you have a cat that likes to chew on houseplants, pick a spot the cat cannot reach, because the seedlings look exactly like a salad bar to a bored cat.
One note about water: I fill mine from the tap and let the water sit out overnight in a jug before I use it. City water around here is fine, but letting it sit for a few hours lets the chlorine evaporate. That is probably overkill, but it is a habit from my aquarium days and it has not hurt anything.
Step 2: Soak the Pods and Plant Your Seeds Properly
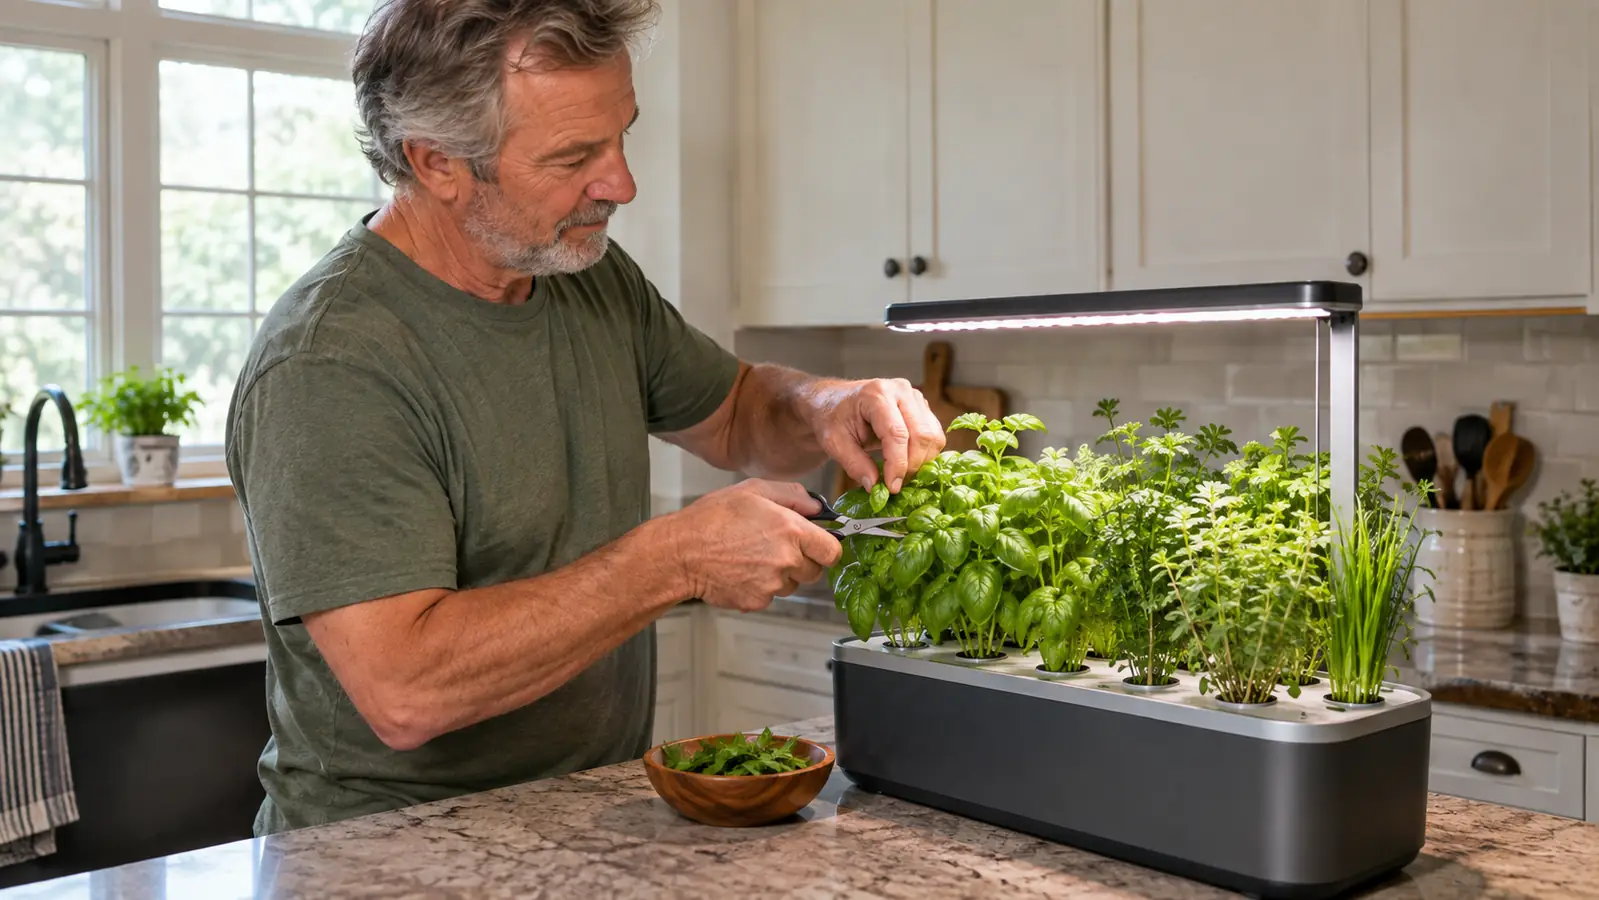
The AeroGarden system uses little grow sponges inside plastic baskets, which are called pods. Each pod holds a seed or a few seeds, and the sponge wicks water up to the seed while the roots grow down into the reservoir below. The kit comes with a starter set of pods and a seed assortment, so you can get the first crop going without buying anything extra.
The step people skip, and the step that causes the most failures, is soaking the pods before you plant. Drop each grow sponge into a bowl of water and let it soak for a few minutes until it is fully saturated. Then put one seed in the hole in the top of each sponge, or two if the seed packet says so, and push it down a quarter of an inch with a toothpick. The AeroGarden seed packets include a little guide that tells you how many seeds per pod for each herb, and it is worth following that guide exactly. Basil gets one or two seeds. Something like thyme gets a pinch, because thyme seeds are tiny and not all of them germinate.
My first attempt at this, I was in a hurry and just dropped the dry pods into the unit and sprinkled seeds on top. About half of the seeds germinated, and the ones that came up were uneven. When I went back to soaking the pods first and planting at the right depth, nearly every pod sprouted within a week. The difference was not the AeroGarden. It was me doing the two minutes of prep that the instructions tell you to do.
Step 3: Set Up the Light and the Nutrient Schedule
The AeroGarden Harvest Elite has a simple control panel with buttons for the light, the pump, and a few built-in timers. The light should be on for about 15 hours a day during the growing cycle, and the unit has a default setting that does exactly that. You can adjust it if your house is very warm or very cool, but the default is close enough for most kitchens that I have not touched mine in three years.
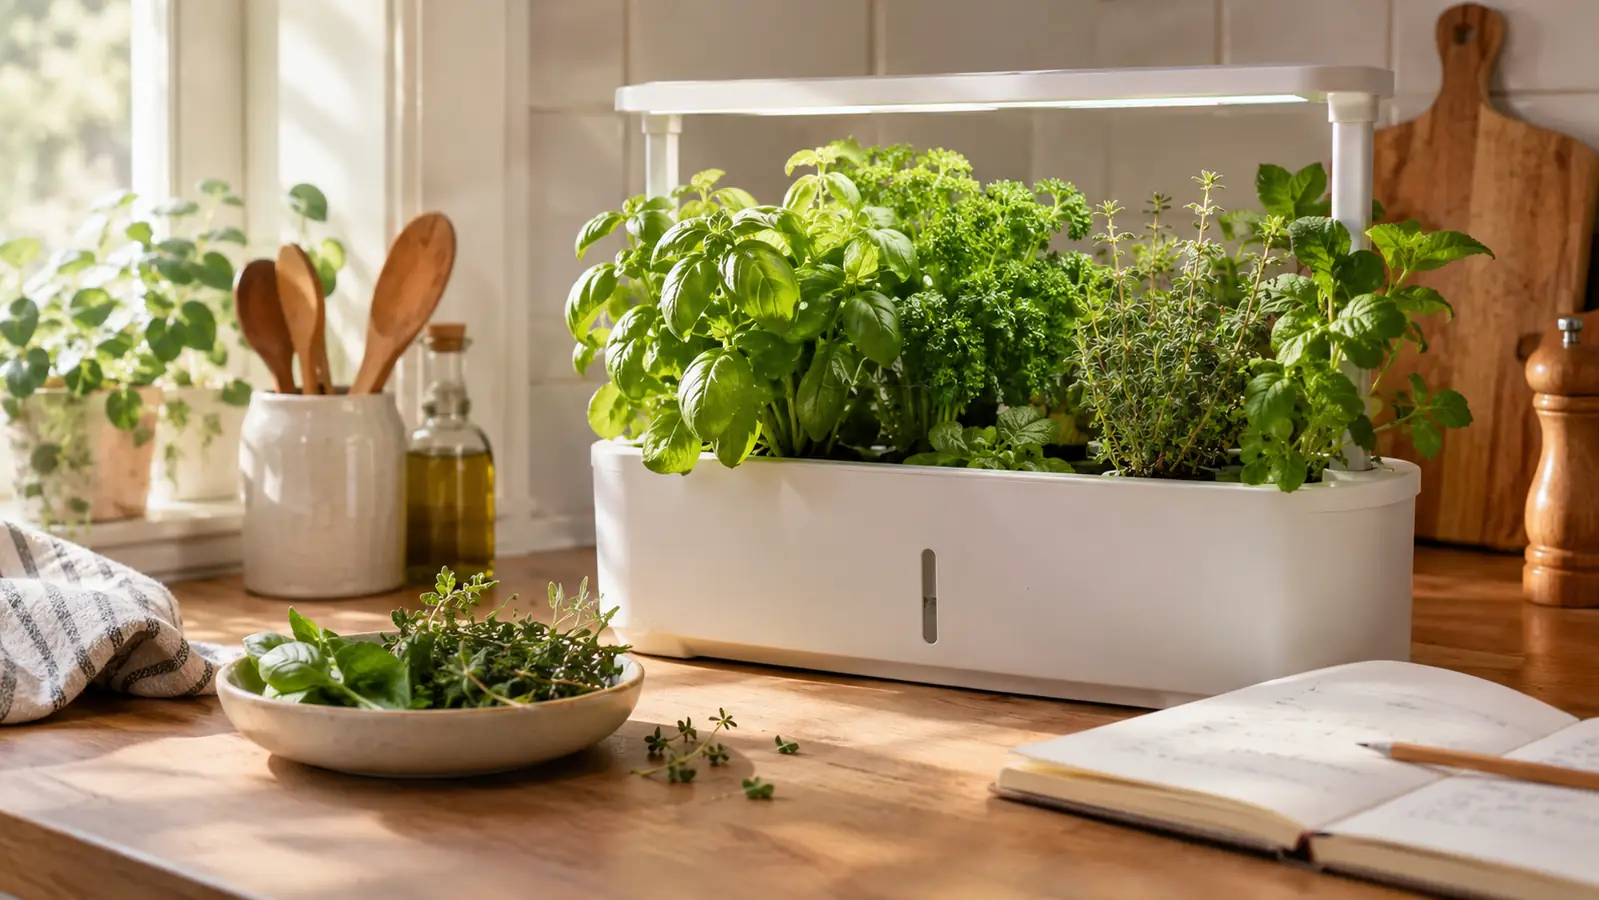
Nutrients are where the system earns its keep. The AeroGarden liquid plant food is a concentrated mix that you add a few drops of every couple of weeks. The control panel actually reminds you when it is time to feed the plants, which sounds gimmicky until you have been growing for a while and realize that remembering a fertilizer schedule is exactly the thing you will forget. I keep a small notebook on the counter next to the garden and write down the date every time I add nutrients, mostly so I can see at a glance whether I am keeping up with the schedule.
Here is what I would tell a new grower about nutrients: start with less than the bottle says, not more. The AeroGarden nutrient bottle has a measuring cap, and the instructions give a range for different growth stages. I use the lower end of the range, and my herbs do fine. Too much plant food in a small hydroponic system can make the water turn cloudy and the roots slimy, and that is a harder problem to fix than slightly slow growth.
Step 4: Top Off the Water and Thin the Seedlings
The water in the AeroGarden reservoir evaporates faster than you expect, especially in winter when the house heat is running. I check the water level every couple of days and top it off with the room-temperature water I keep in the jug. The unit has a red float that sits in the reservoir, and when it gets low the pump makes a slightly different sound. That sound is my reminder to add water. I have never let the reservoir run dry, but I have come close, and the pump noise is a reliable early warning.
About ten days after planting, the seedlings will come up and you will face the hard part: thinning. If you planted two seeds per pod and both germinate, you need to cut one of them off at the base with scissors. It feels wasteful, and it is the one step I have seen people skip because they do not want to kill a healthy seedling. But two plants in one pod will crowd each other, and you will end up with two weak plants instead of one strong one. I use the scissors and pull the weaker seedling out by the roots if it comes easily, or snip it off if it does not.
The other thing to do at this stage is to lower the light down close to the seedlings. The light mast on the Harvest Elite slides up and down, and it should sit about four to six inches above the tops of the plants. When the seedlings are young, that means the light sits almost at the bottom of the mast. As the herbs grow, you slide the mast up. Keeping the light close is what keeps the stems short and the leaves dense, instead of the leggy stretched growth you get from a windowsill.
Step 5: Harvest Often, and Never Strip a Plant Bare
The best part of growing herbs indoors is that the harvest is not a single event. Basil, parsley, dill, and mint will keep producing for months if you harvest the right way. The rule is simple: never cut off more than about a third of the plant at one time, and always cut just above a set of leaves. For basil, that means cutting the stem above the pair of leaves that is about to become the next branches. For parsley and dill, cut outer stalks near the base and leave the inner growth alone.
The first few times I harvested, I made the beginner mistake of taking a big handful of leaves from the top of each plant, leaving bare stems sticking up. The plants survived, but they looked rough for a couple of weeks and the regrowth was slower. When I switched to taking a few leaves from each plant, a little at a time, the plants stayed full and the harvest was actually bigger over the course of a month. It feels like you are getting less, but you are getting more.
I aim to use the herbs in the kitchen about every other day. A few leaves of basil for pasta, a handful of parsley for a pot of beans, a sprig of mint in iced tea. The garden is not a showpiece and it is not a hobby I photograph for the internet. It is a working countertop appliance that saves me a trip to the store two or three times a week. Linda uses the basil faster than I can grow it, which is a good problem to have.
What Else Helps
Three small things made the biggest difference in my AeroGarden results. First, keep a one-page grow log. I write the planting date, the variety, the date each pod sprouted, and the date I add nutrients. It takes thirty seconds and it is the only reason I can tell you that basil takes about a week to germinate and mint takes closer to two. Second, keep the light mast clean. Dust settles on the LED panel and cuts down the light, so I wipe it with a dry cloth every couple of weeks. Third, run the garden on a timer or use the built-in timer rather than switching it on and off by hand. The plants do not care about a regular schedule the way people do, but a consistent 15 hours of light keeps the growth steady, and the timer means I cannot forget.
The AeroGarden is not a set-and-forget machine, and anybody who tells you otherwise is selling something. But the daily attention it asks for is small: two minutes to check the water, thirty seconds to snip a few leaves, a few drops of nutrients every couple of weeks. For the trade, I get fresh basil in January and a counter that looks like something is alive on it. That is a fair trade.
The AeroGarden is not a set-and-forget machine, but two minutes a day is a small price for fresh basil in January.
Start Your First Countertop Garden Tonight
The AeroGarden Harvest Elite has been on my counter for three winters, and it is still the easiest way I know to grow herbs indoors. If you are tired of buying grocery store herbs in the winter, this is the unit to start with.
Amazon Check Today's Price on Amazon →