
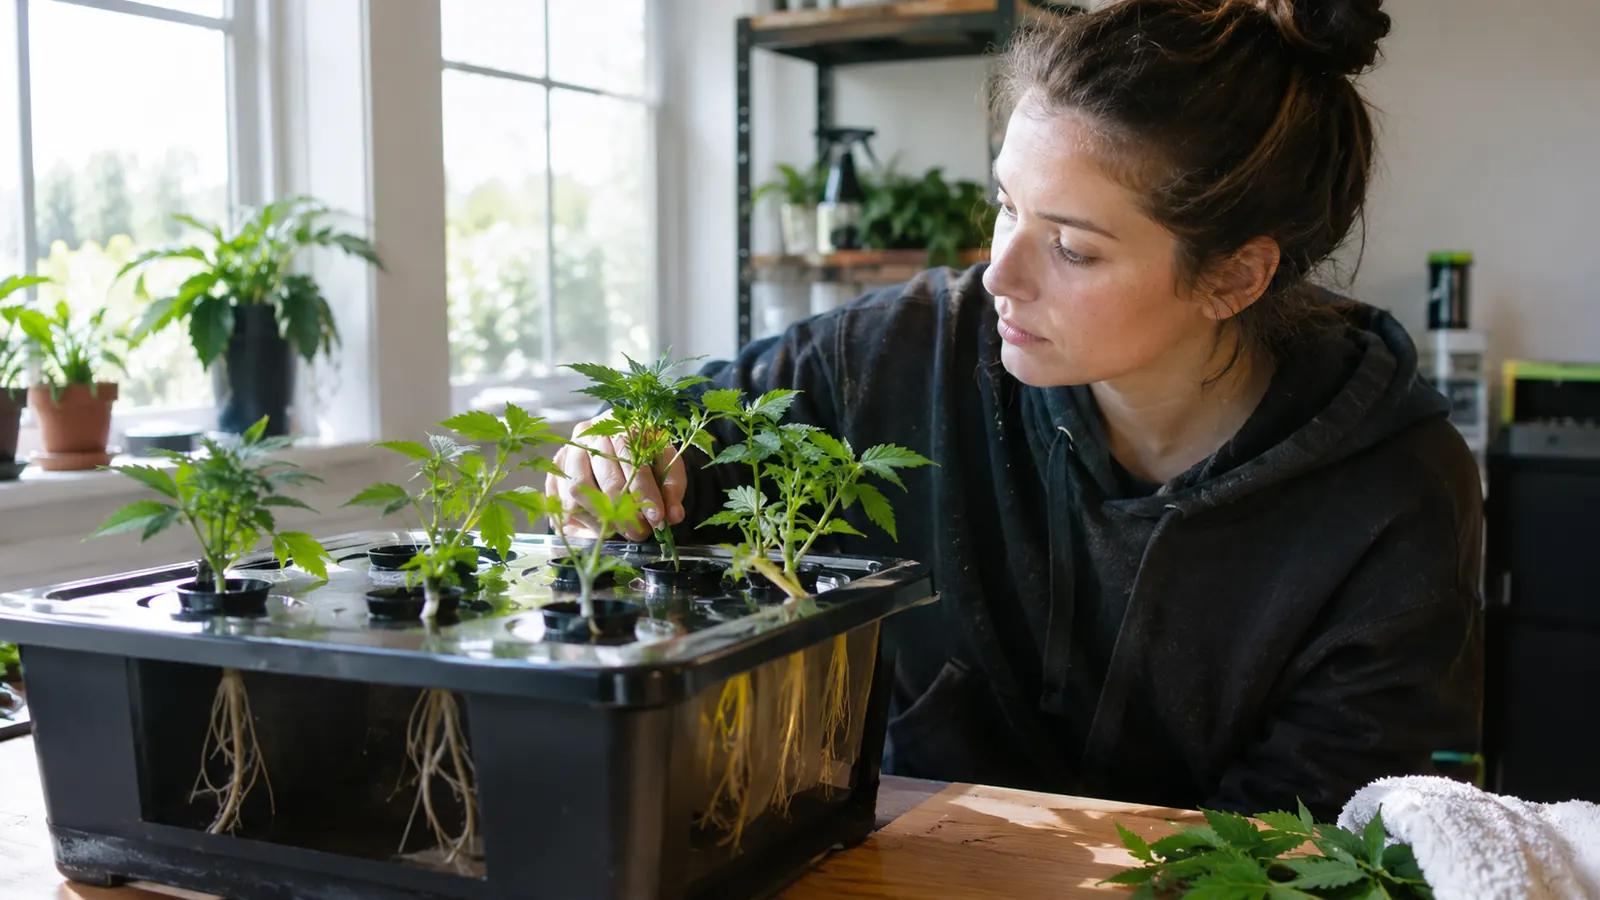
If you have ever taken a cutting, stuck it in a glass of water on the windowsill, and watched it turn to mush, you already know the problem this method solves. Soil and water both work, but they are slow and they fail more often than most people admit. An aeroponic cloner like the CLONE KING 25 Site Aeroponic Cloning Machine holds the cuttings in the air and mists the stems, so roots form in about half the time and you can see them happen. I have used one for the past three seasons in a converted spare bedroom, and this is the exact routine I follow, written down the way I would explain it to a neighbor.
This guide assumes you have a cloner already or are about to buy one. It covers taking the cutting, setting the water, running the pump, and potting up the rooted cutting. I keep a paper grow log, and the numbers below come straight out of it.
Start with a cloner that does not fight you
The CLONE KING 25 Site Aeroponic Cloning Machine is the unit I have used for three seasons. It holds 25 cuttings, comes with a pump and misters, and the lid keeps the humidity where it needs to be. Check today's price on Amazon before you start.
Amazon Check Today's Price on Amazon →Step 1: Take the cutting right
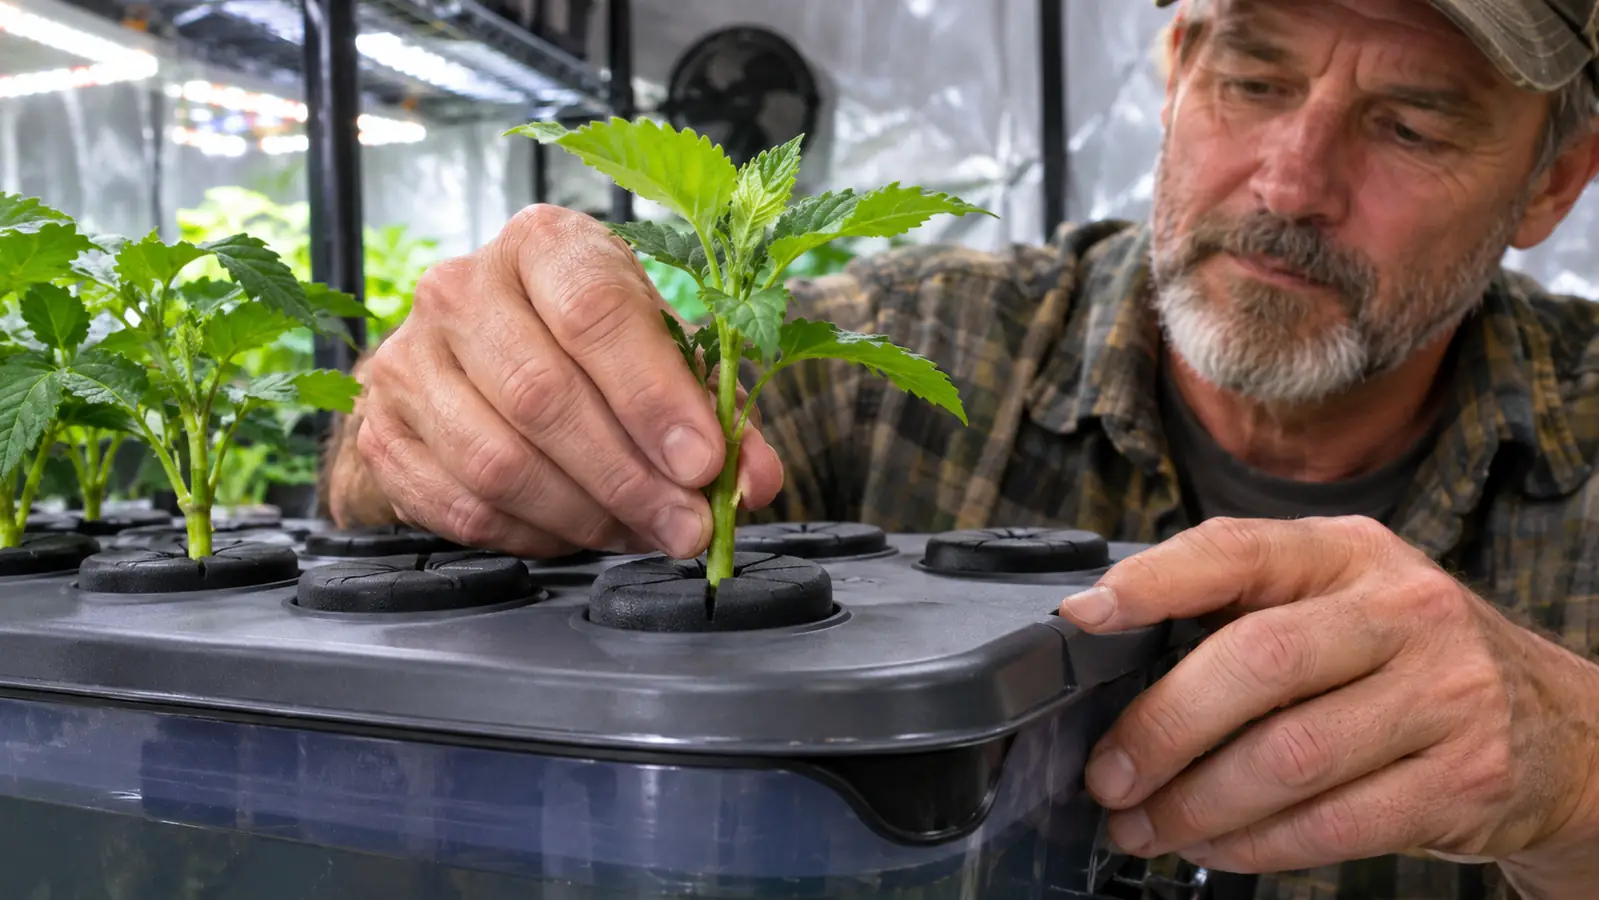
The cutting matters more than the machine. I take cuttings from healthy mother plants in the morning, when the stems are full of water. I use a clean razor blade, not scissors. Scissors crush the stem, and a crushed stem is the first thing that rots in a cloner.
Cut at a 45 degree angle, about a quarter inch below a node. Strip the lower leaves so no leaf sits below the neoprene collar. Two or three leaves at the top is plenty. A cutting with too many leaves asks the stem to support more than it can while it has no roots.
I put each cutting in water immediately after cutting. They should not sit on the counter drying out while you take the next one. A shallow bowl of plain tap water works fine for the five minutes it takes to fill a tray.
The first time I did this, I took twenty cuttings from a basil plant that had been through a rough winter, and I was in a hurry. I used scissors, I stripped every leaf off the bottom half, and I left the cuttings on the counter while I went to answer the phone. Six of them went mushy within a week. The ones that rooted were the ones I had cut clean and put in water fast. That is the whole lesson of Step 1, and it cost me a tray to learn it.
I take cuttings in batches of 25 because that fills every site on the CLONE KING, and a full tray makes the mist work for the whole tray instead of spraying into empty collars. I keep a small ruler on the table and checked my cut placement against it the first few times, until a quarter inch below the node became automatic. My mother plants live in two plastic tubs under a shop light in the spare room. I trim them back about two weeks before I need cuttings so the new growth is firm, not soft. Soft new growth wilts in the cloner. Firm growth roots. It is the same habit I had on the job for thirty years: check the prep before you start the equipment.
Step 2: Set up the cloner water
The CLONE KING cloner holds about five gallons of water. I fill it with tap water that has sat out overnight so the chlorine can dissipate. I do not add cloning gel or powder. The mist does the work, and I have had cleaner results without the goop.
Water temperature matters more than people think. I aim for 68 to 72 degrees Fahrenheit. Too cold and the cuttings sit there. Too warm and bacteria move in. In the winter I run a small aquarium heater in the reservoir. In the summer I move the cloner to the cool side of the room.
I do not run nutrients during the first week. Plain water keeps the cuttings from burning while they push roots. After roots appear, I add a light dose of a general-purpose hydroponic nutrient at about a quarter strength.
One thing I learned the hard way: check the water level every morning. The pump moves a surprising amount of water into the air, and on a warm day the reservoir can drop an inch by evening. I lost a tray of tomato cuttings in July because the pump ran dry overnight. The roots had just started, and by morning the stems were limp. Now I top off the reservoir every morning before I do anything else, and I write the level in the grow log.
I check the water with a cheap floating thermometer and write the number in the grow log every morning. On a cold week in February the reservoir sat at 62 degrees and the cuttings did nothing for six days. I added a 50 watt aquarium heater set to 70, and roots showed up within a week. That heater runs from November to March now. I also stopped fussing with pH after the first season. My tap water sits around 7, the cuttings root fine at that, and I have not owned a pH meter since. The water matters. The numbers on the meter mattered less than I thought they would.
Step 3: Set the pump and the misters
The pump that comes with the CLONE KING runs continuously. That is the way the unit is designed and it works. The misters spray the stems inside the chamber, and the lid holds the humidity high. I run it 24 hours a day from the day I put cuttings in until the day I pot them up.
Check the misters on day one. I had a cloner sit for a full day with one mister clogged and the cuttings in that corner looked sad by the next morning. A quick look under the lid each morning catches that before it costs you a tray.
Keep the lid on. I know it is tempting to lift it every few hours to check for roots. Every time you lift it, the humidity drops and the cuttings notice. I check once in the morning and once at night, and that is enough.
On the second season, I started keeping a spare mister in the drawer. A mister can clog even when you clean the cloner properly, and the one time I needed it, I was glad I had it. It took me about ten minutes to swap it out, and the cuttings never knew anything had changed. If you run a cloner regularly, a spare mister is cheap insurance.
I listen for the pump, too. A pump that sounds rough is a pump that is getting ready to stop, and I would rather replace it on a Tuesday afternoon than find it dead on a Saturday morning with a tray of cuttings waiting. I check the mist pattern with a small flashlight. The spray should look like a fine fog, not a stream. If a mister sputters, I pull the little nozzle and soak it in vinegar for an hour, then rinse it and put it back. That clears most clogs. On a tray of mint last summer I caught two misters sputtering on day three, cleaned them before the cuttings showed any stress, and the tray rooted right on schedule. Ten minutes of checking beats losing a tray.

Step 4: Watch the roots, not the calendar
In my grow log, the first roots show up between day 5 and day 10. Some cuttings root in 4 days. Some take 12. The ones that take 12 are not failures, they are just slower. I do not pot anything up until the roots are at least an inch long, and I prefer two inches.
Checking is the easy part. I lift the lid once in the morning and once at night, just enough to see the root ends at the base of the stems. When a cutting has a good root mass, I move it to a pot with light potting mix. I keep the pot in the same room for a few days so it does not shock the plant with a different environment.
I write the date in the grow log when each cutting goes in and the date when it comes out. That is the only way I know which method actually works in my room. The notebook has saved me from repeating my own mistakes more times than I can count.
Last spring I ran a tray of rosemary and a tray of mint side by side. The mint rooted in five days. The rosemary took eleven, and I almost gave up on it. I am glad I did not, because the rosemary that finally rooted is still growing on the back porch today. The lesson is simple: the calendar is a guide, not a rule. The roots tell you when they are ready.
Here is a page from the grow log, from this spring. April 2, I put in 25 tomato cuttings. April 7, the first roots showed, thin white hairs at the base of the stems. April 9, nineteen cuttings had roots past an inch. The other six took until April 14. I potted the first nineteen on the 9th and the last six on the 14th, and every one of them is still growing. If I had pulled the slow six on the 9th and thrown them out, I would have lost six perfectly good plants. The roots tell you when they are ready. The calendar does not.
Step 5: Pot up and harden off
When the roots are ready, I fill a small pot with a light seed-starting mix, make a hole with a pencil, and lower the cutting in so the roots hang straight down. I firm the mix gently around the stem. I do not pack it down hard. The roots need air.
For the first three days, the potted cutting stays in the grow room under the same light. Then I move it to a spot with a little less humidity and a little more air movement. By the end of the week it is living like a normal plant. From cutting to potted plant, the whole run takes about two to three weeks in my room.
I have also learned to pot up in the morning. A cutting that gets moved in the evening has all night to sit in cooler air, and I have seen them stall. In the morning, the plant has the whole day to adjust under the lights. It sounds like a small thing, but it has made a difference in how many cuttings pull through the move.
What Else Helps
A few things make the difference between a tray that roots and a tray that sits. Keep the room between 70 and 78 degrees. Keep the cloner out of direct sun, because the reservoir will heat up. And clean the cloner between runs with a mild bleach solution and a rinse. I lost a tray to slime once because I skipped the cleaning, and I have not skipped it since.
The CLONE KING cloner has been a solid tool for me, and the 25 site size means I can run a tray of herbs and a tray of tomatoes at the same time. If you are looking for a machine that does the job without fuss, it is worth a look.
In my grow log, the first roots show up between day 5 and day 10. Some cuttings root in 4 days. Some take 12. The ones that take 12 are not failures, they are just slower.
Root your next tray in about two weeks
The CLONE KING 25 Site Aeroponic Cloning Machine has earned its spot in my grow room. If you want cuttings that root fast and pot up clean, check today's price on Amazon.
Amazon Check Today's Price on Amazon →