
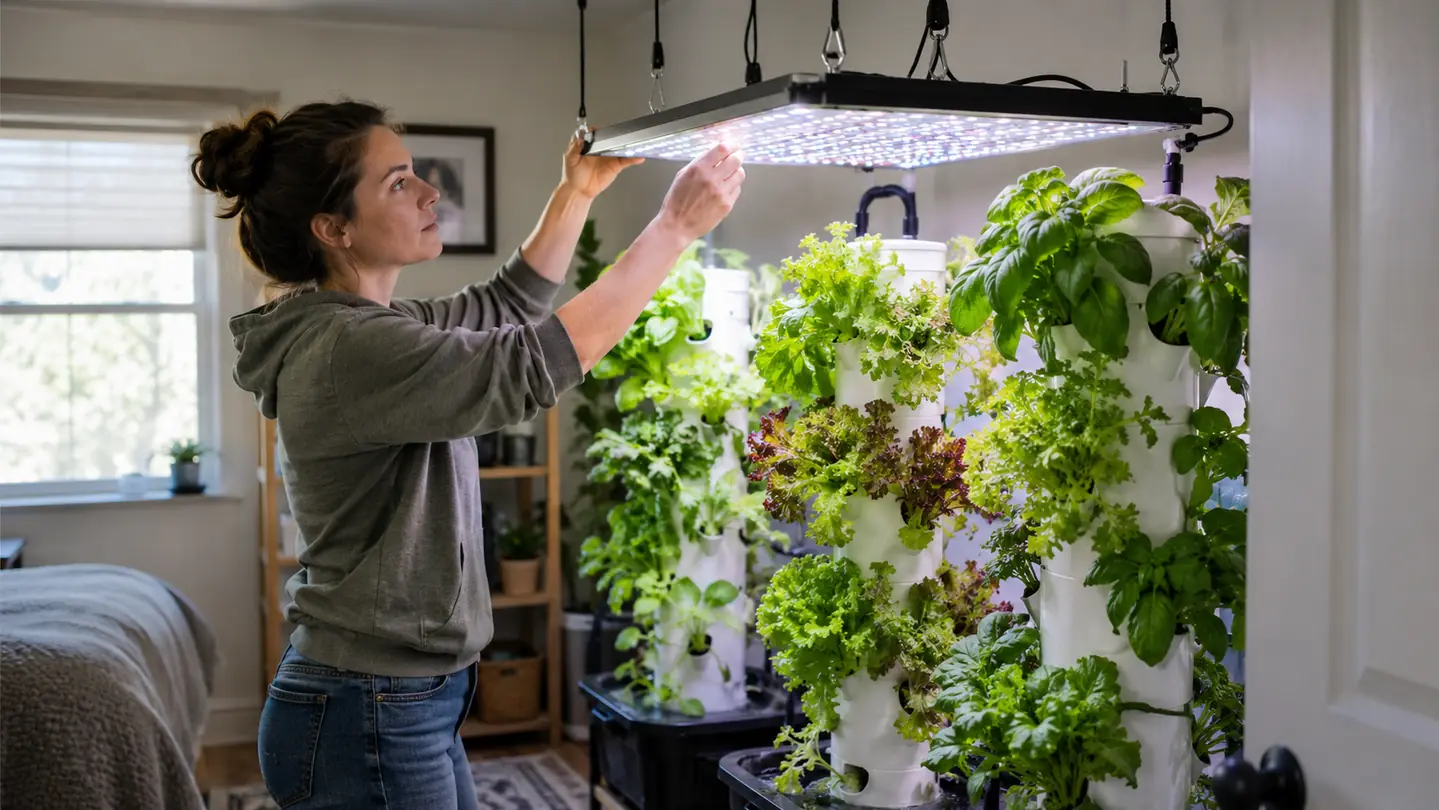
The first time I hung a grow light over my aeroponic towers, I made the same mistake most people make. I read the box, hung the light at the suggested height, and walked away. Two weeks later the lettuce on the top shelf was bleached and the basil on the bottom was reaching for the window. The light was fine. The setup was wrong.
I am Gary Mercer, 61, a retired HVAC technician outside Raleigh, North Carolina. I started growing indoors about four years ago after a back problem made bending over raised beds hard. I keep a paper grow log, and I have filled a lot of pages learning how to set up an LED grow light for indoor aeroponics. This is the setup I use now, step by step, with the distances and timers that actually worked for me.
The light I hang over my towers: MARS HYDRO TS1000
Full spectrum, dimmable, and quiet enough that I forget it is running. It covers a 2x2 foot area at the heights I use for aeroponic towers. Check today's price on Amazon before you buy.
Amazon Check Today's Price on Amazon →Step 1: Measure your grow space before you hang anything
Aeroponic towers are tall and narrow, so the light footprint matters more than the wattage. My spare bedroom is about 10 by 12 feet, but I only use a 4 by 4 foot corner for the towers. The MARS HYDRO TS1000 covers a 2 by 2 foot area at the hanging heights I use, so I run two of them side by side over four towers. If you have one tower, one light is plenty.
Write down the dimensions before you order anything. I use a tape measure and mark the ceiling with a pencil where the hooks will go. The distance between the light and the top of the tower matters more than the distance to the floor, because the top of the tower is where the plants start. I learned that the hard way in my first winter, when I hung the light by eye and ended up with one tower in full brightness and the one next to it in shadow.
One thing I learned the hard way: leave room to raise the light. Lettuce and basil grow fast, and you will be adjusting the hangers every few days in the first month. I hang the light so the bottom edge sits about 18 inches above the top of the tower when the plants are small, then raise it as they grow. On March 14 last year I raised it twice in one week because the romaine was closing the gap faster than I expected. I also mark the rope hangers with a permanent marker at the 18, 20, and 24 inch points, so I can raise the light without hunting for the tape measure every time.
Step 2: Hang the light level and square to the towers
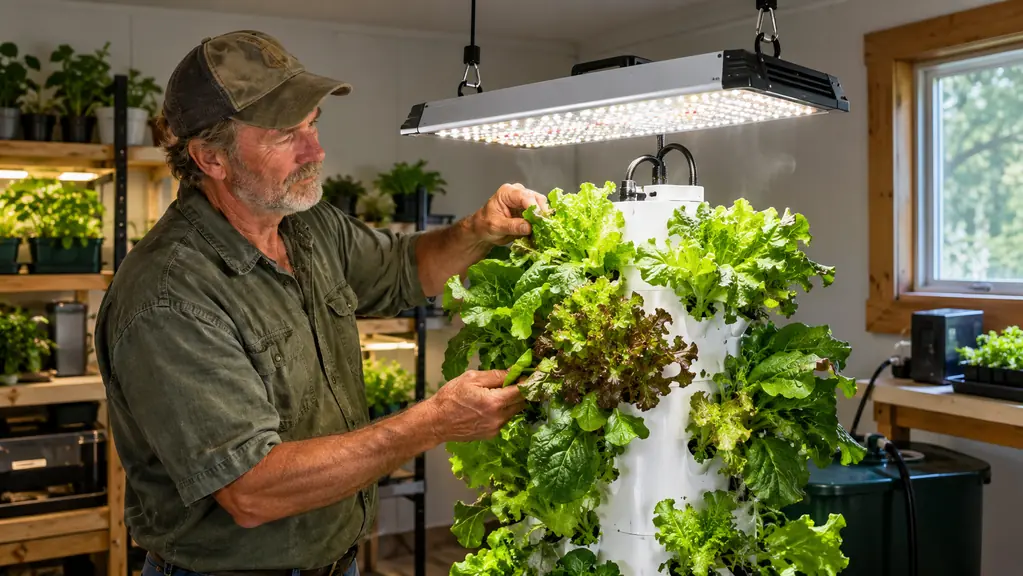
The TS1000 comes with rope hangers, and they are not decorative. I use all four, not just two, because a light that hangs at an angle wastes light on the wall and leaves one side of the tower dark. I hook each rope to a separate ceiling hook, then level the light with a small bubble level I keep in the grow room. The first time I skipped the level, the light was a full inch lower on the left side, and the arugula on that side grew noticeably taller before I caught it.
Square matters too. I line up the edge of the light with the edge of the tower base, not with the wall. The first time I hung it parallel to the wall, the light was crooked relative to the towers and the plants leaned. It took me a week to notice because the lean was gradual. By then the basil had curved a good four inches toward the brighter side, and it never fully straightened out. I ended up harvesting that whole tray a week early just to get it out of the way.
If you are hanging over a single tower, center the light directly over the tower. If you are hanging over a row, position the light so the coverage overlaps the middle of the row. I check the level every time I raise the light, because the ropes settle and the light drifts. I also check it after I adjust the timer, since I tend to bump the hangers when I reach for the outlet. A quick check takes ten seconds, and it has saved me more than one lopsided tray.
Step 3: Set the hanging height for the stage of growth
This is the step most people get wrong, including me. The box says the TS1000 covers a 2 by 2 foot area, but the right height depends on what stage the plants are in. For seedlings and young greens, I hang the light 24 inches above the top of the tower. For mature lettuce and basil, I raise it to 18 inches. For flowering plants, if you grow those, 12 to 15 inches works, but I mostly grow greens.
I keep a chart in my grow log with the height and the date. When the leaves look pale and stretchy, the light is too high. When the edges of the leaves look bleached or crispy, the light is too low. I adjust in two-inch increments and wait three days before changing again. Plants do not respond instantly, and neither should you. In November of last year I dropped the light from 20 inches to 16 inches in one move and burned the tips of a whole tray of kale before I caught it. The leaves looked fine for two days, then the edges turned brown, and I had to trim half the harvest.
The TS1000 is dimmable, which I did not use for the first year. Now I run it at 75 percent for seedlings and 100 percent for mature plants. That gives me a little more control than moving the light alone, and it saves a bit of electricity over a long winter grow. I also keep a note in the log about the dimmer setting, because I found myself second-guessing whether I had changed it on a given morning. On February 2 I wrote down that I had bumped the dimmer to 50 percent while cleaning, and the seedlings stretched for three days before I figured out why.
Step 4: Put the timer on the light, not the pump
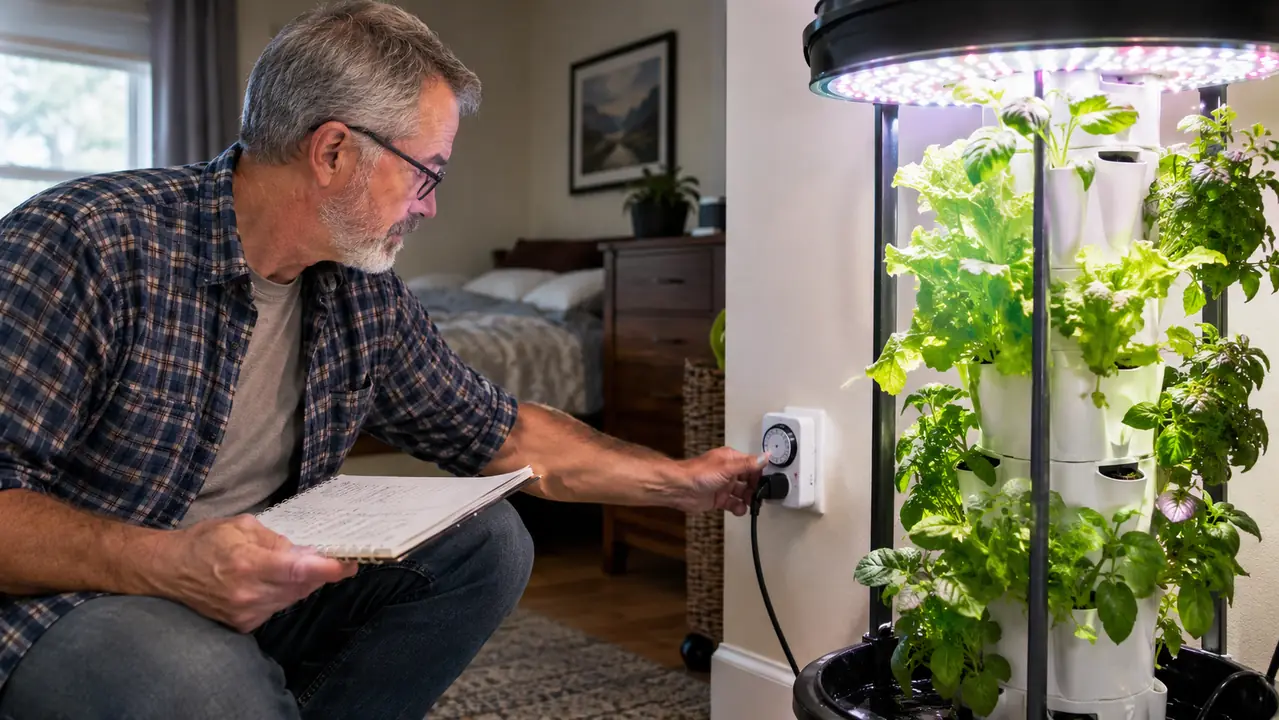
Aeroponic systems have two things that need power: the pump and the light. They need different schedules. The pump runs on a cycle, often 30 seconds on and 5 minutes off, and it needs its own timer. The light needs a separate timer set to the photoperiod, usually 16 hours on and 8 hours off for leafy greens. I run mine from 6 AM to 10 PM, which matches the natural day length in summer and keeps the bedroom from feeling like a cave.
The mistake I made was plugging both into the same power strip and trying to run them on one schedule. The greens got too much light and the roots got too little water. I caught it on a Tuesday morning when the lettuce looked tired and the pump had been off for three hours. Separate timers, separate outlets, labeled with a marker. I use a cheap mechanical timer for the light and a separate one for the pump, and I write the schedule on the side of each with a permanent marker. The labels have saved me more than once, because I can see at a glance which timer is which when I am half awake.
Set the light timer so the lights come on at the same time every day. If you grow in a room where you sleep, put the timer on a schedule that does not keep you awake. I also set the pump timer to skip the overnight hours when the plants are not photosynthesizing, which cuts down on noise and keeps the reservoir from getting too cold. In January I noticed the reservoir temperature had dropped to 61 degrees by morning, and moving the pump cycles to daylight hours brought it back up to 68.
Step 5: Watch the plants and adjust, then write it down
The setup is not done when the light is hung. It is done when the plants tell you it is done. I check the towers every morning with my coffee and look at three things: leaf color, leaf direction, and stem length. Pale leaves mean more light. Leaves reaching sideways mean the light is too high or off to one side. Long, weak stems mean the light is too far away. On the morning of January 9, the basil had stretched almost two inches overnight, and that told me the light had drifted up when I raised it the week before.
I write every adjustment in my grow log: the date, the height, the timer setting, and what the plants looked like. That notebook is the reason my second year went better than my first. When something goes wrong, I can look back and see what I changed before the problem started. I also write down the weather, because a cloudy week changes how much the plants need even under lights. Last March we had five straight overcast days, and the lettuce grew noticeably slower even though the light was on the same schedule.
The MARS HYDRO TS1000 has been running in my spare bedroom for two winters now. It is quiet, it does not run hot, and the full spectrum light grows lettuce and basil that taste like they came from a garden, because they did. The setup takes an afternoon. The adjustments take a season. Both are worth it.
What Else Helps
A good light is only part of the system. I run the TS1000 with a simple plug-in timer, a small fan for air movement, and a thermometer in the grow corner. The fan is not for the plants, it is for the light. LED lights run cooler than the old fluorescents I started with, but they still need air moving over them to stay efficient. I also keep the room temperature between 68 and 75 degrees, which matters more for the nutrient solution than for the light. When the room got above 80 last July, the reservoir climbed with it, and the roots let me know within a week.
If you are just starting out, do not buy every accessory at once. Start with the light, a timer, and a notebook. Add a fan when the room feels warm. Add a second light when you add a second tower. The MARS HYDRO brand has been reliable for me, and the TS1000 is the model I recommend to neighbors who ask, but the setup habits matter more than the gear. I still use the same notebook I started with, and the first page is a list of everything I got wrong so I do not repeat it. The list has grown shorter every season, which is the best sign that the system is finally working.
The light was fine. The setup was wrong. Once I started measuring the height, leveling the fixture, and writing down every change, the same light grew better lettuce than I had grown in two years.
Set up your grow room the right way the first time
The MARS HYDRO TS1000 is the light I use over my aeroponic towers. Full spectrum, dimmable, and easy to hang. Check today's price on Amazon and start your grow log tonight.
Amazon Check Today's Price on Amazon →